 Photo courtesy of visualphotos.com.
From high-fashion business women to stay-at-home moms who run endless errands, every woman needs to take time to take care of her feet. And, it’s not just a luxury. Neglecting your feet means a host of problems including - bunions, ingrown toenails, plantar feet, and fungal infections.
You should have a pedicure once every two weeks. If you do it at home, there are a lot of benefits – you save on the cost (depending on where you live, anywhere from $15 to $70) that you’d pay a professional.
Doing a pedicure at home, you also don’t have to find parking, don’t have to wait for your appointment time, and can watch your favorite TV show while you tend to your precious feet.
No matter how busy your life is, you need an hour twice a month for yourself. Giving yourself a luxury home pedicure is a lot easier that you might think. These are the items you’ll need:
- Nail Polish Remover - I recommend using an acetone-free, fragrance-free nail polish remover, so you won’t dry out your nails. Since the acetone-free removers usually aren’t as strong as traditional ones, it might take a little longer to remove darker colors.
- Gauze - It’s better to use either gauze or cotton pads, instead of cotton balls to remove nail polish so that you don’t have to worry about traces of cotton on your nails.
- Home Foot Spa or Basin.
- Water.
- Epson Salt - Helps relieve inflammation and pain.
- Towel.
- Toenail Clippers - Don’t use a fingernail clipper. Toenail clippers are specifically made for the shape and thickness of your toenails.
- Emery Board - Don’t use a metal file that can tear at your skin and nails.
- Pumice Stone.
- Foot Lotion - Use whichever is your favorite.
- Toe Separators - Two.
- Nail Polish - Use whichever is your favorite.
Once you get your things together, the procedure for giving yourself a pedicure is as easy as can be. First, you use a gauze or cotton pad to remove your nail polish.
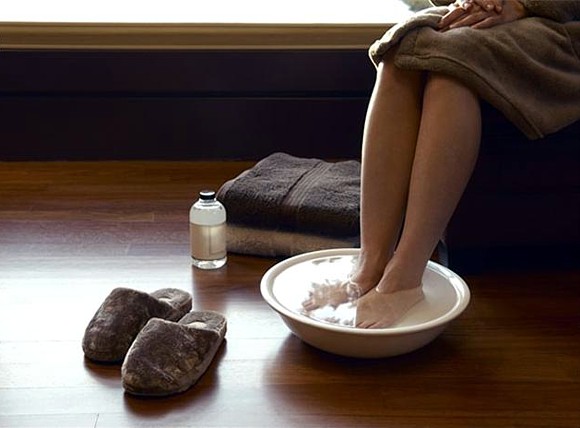
Then, you soak your feet in a home foot spa or basin, with about two tablespoons of Epson salt to reduce any pain and inflammation in your feet. Soak your feet for about 15 minutes.
Next, towel dry them. Cur your toenails, but not razor close to your skin, leave some room and then shape them further with an emery board, giving them a gently rounded shape.
Following, use a pumice stone. Use it in a soft, circular motion to buff away any dry skin or other problem spots. Rinse your feet in the water again, and dry them again. Make sure to dry between your toes.
Apply a foot lotion to your feet to moisturize them. Make sure you also get it in between your toes too!
Now, it’s time to get your toes ready for some new nail polish. First, use either some nail polish remover on a piece of gauze or cotton pad to remove any lotion from your nails. Then, apply a base coat of your favorite nail polish. Let it dry. Add a second coat, and let it dry. Some people like a third coat for a deep finish, but that is up to you. Either way, you’re done.
Now, you’ve given your feet some well needed therapeutic treatment and they look great too!
Author’s Note: You’ll notice that I didn’t mention anything about cutting or pushing back your cuticles. The purpose of cuticles are to protect your fingers from infections caused by dirt and bacteria. My advice is to leave your cuticles alone!
Related GreenVitals Article:
Reader comments and input are always welcomed!